


Why use Replica Testex Tape?
Testex Replica Tape is a simple and practical tool used to measure roughness profiles after peening. It produces a sufficiently accurate surface profile imprint and can be used on any metallic media that have been peened for the purpose of receiving protective coatings. The measurements produced can be compared to traditional Rz values expressed in microns or mils, and measured using a linear surface indicator.
The model provided by Testex Replica Tape takes into account the crest-valley profile that appears when projecting abrasives. As a result, it provides a rapid estimate comparable to other evaluation techniques. Testex Replica Tape is a tool recommended alongside other measurement devices in order to ensure quick and precise analyses of roughness profiles following the peening process.
Usage
Usage
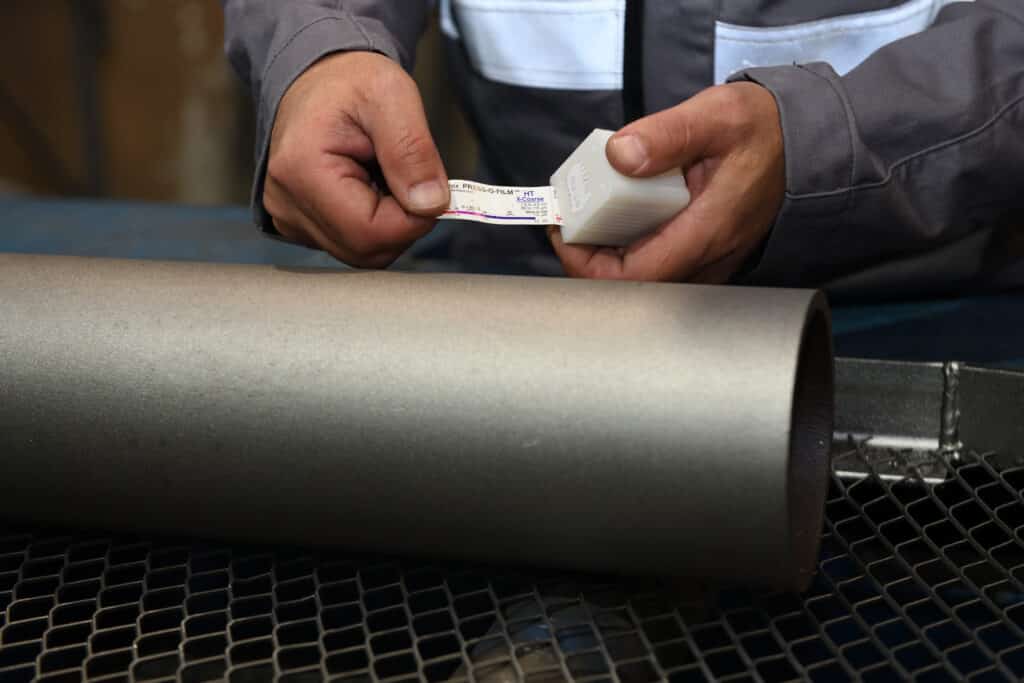
Second step: Using the Testex replica tape
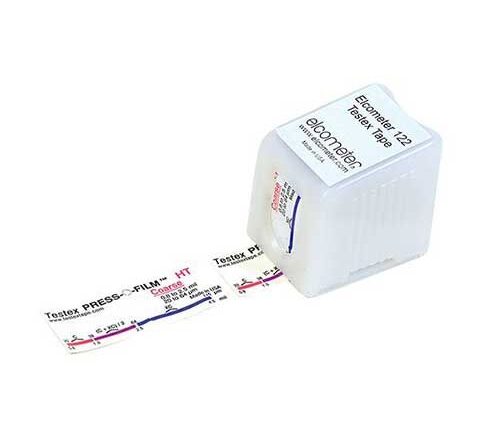
Once you have selected the appropriate peened area, tear off a new section from the roll and remove the thin protective film from the adhesive side. Use your thumb to apply the Testex replica tape to the metal. Ensure that the test is completely joined to the surface. The center circle contains a thin gel layer that is both liquid enough to penetrate the roughness profile, and viscous enough to retain the imprint replica until final measurement.
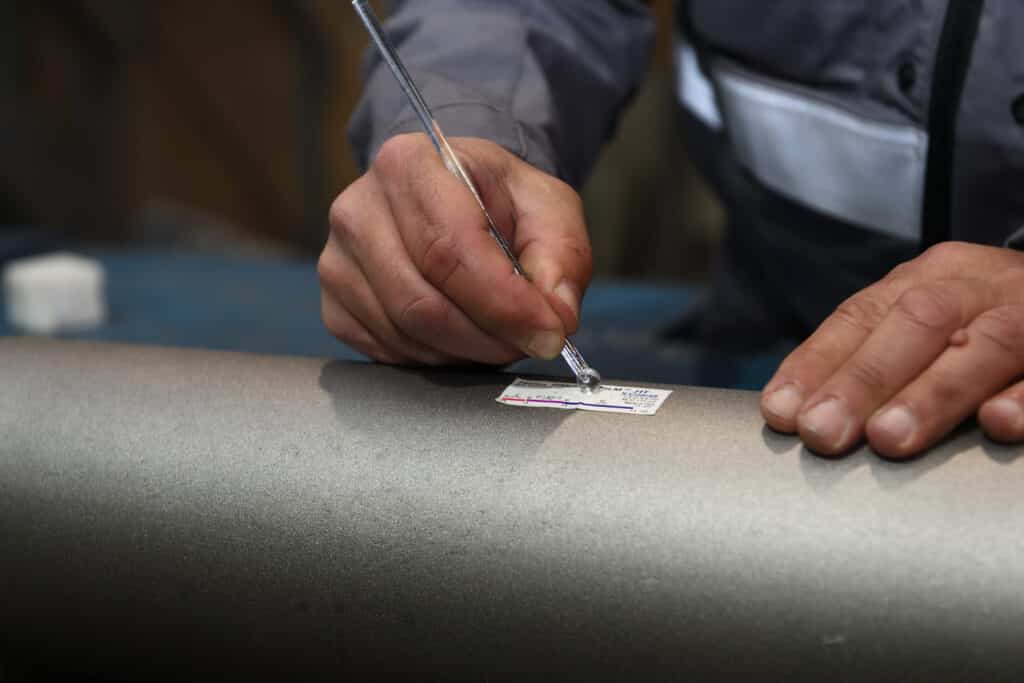
Using a plastic rod with rounded tip (included in the Testex Replica Tape kit), apply constant pressure while making concentric circles in the test’s middle portion. This will help the gel penetrate the roughness profile. The movement is rather simple, but avoid applying too much pressure in order not to damage the test or the roughness itself! Small black dots will initially show up, and your circles will progressively cover the entire middle area until the Testex Replica Tape is almost completely blackened.
Then, carefully remove the Testex Replica Tape from the surface.
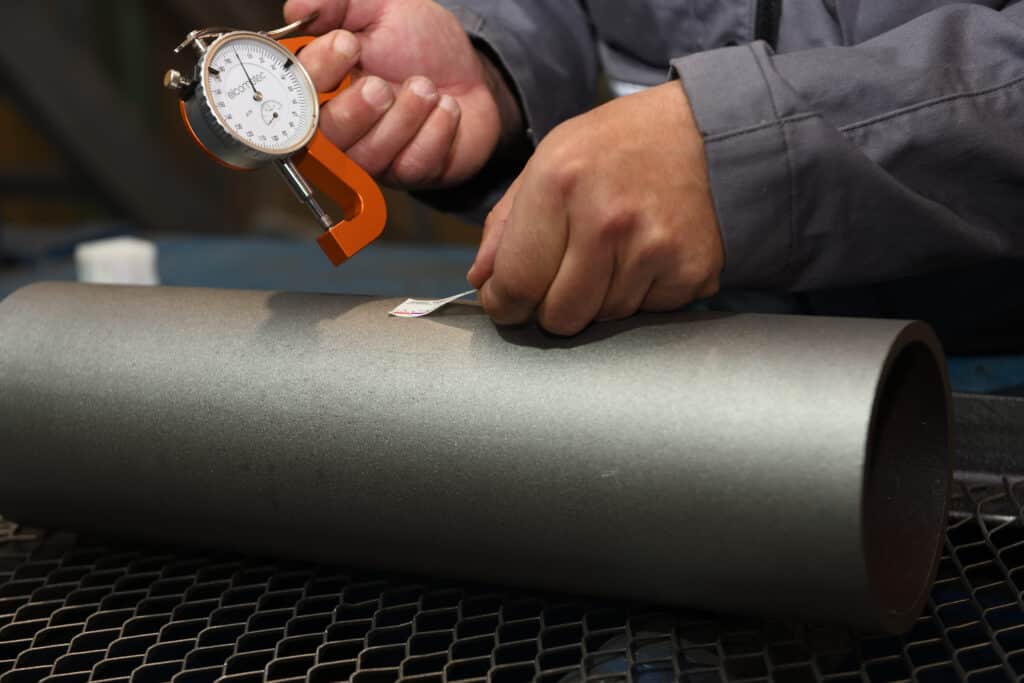
Third step: Measuring profile elevation
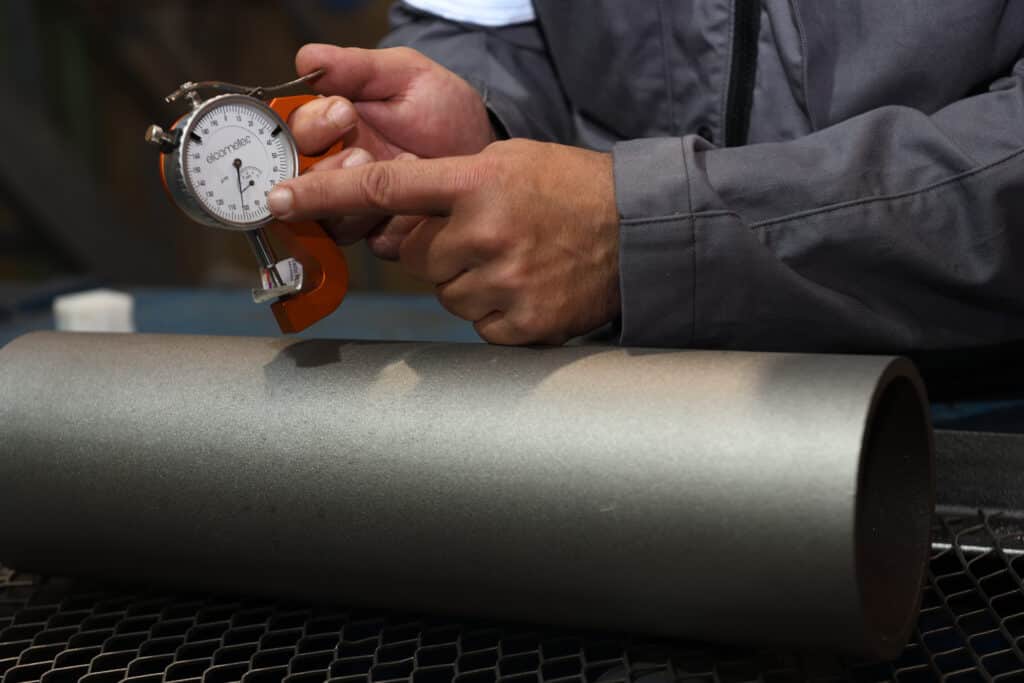
Use the manual measuring gauge (also known as the Elcometer 124 Thickness Measuring Gauge)
Set the Press-O-Film Testex Tape imprint on the measuring gauge’s base, and slowly let the marker come back down to read the roughness produced by the peening process.
You can now see the roughness directly measured on the dial, expressed in microns or imperial. Don’t forget to subtract 50 microns from the dial’s measurement, which corresponds to the Testex Replica Tape’s thickness.
Recommendations
Recommendations
Testex tape
As stated above, two crucial factors must be considered:
- Do not exert too much pressure with the plastic rod on the Press-O-Film Testex Replica Tape. This process must be done softly
- Beware of very high ambient heat sources
- Follow the ASTM D 4417-03 standard to properly measure surface profiles: “Standard Test Methods For Field Measurement Of Surface Profile Of Blast Cleaned Steel”